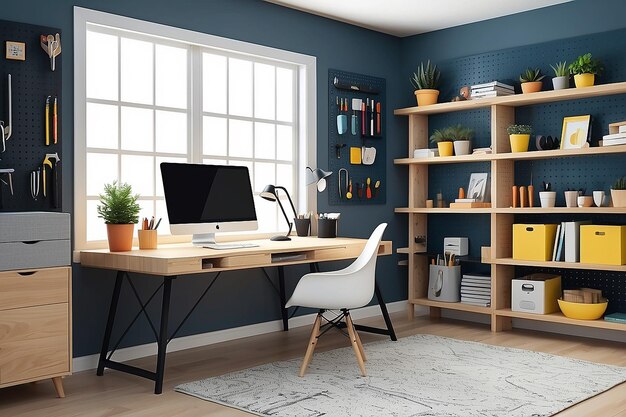
Create Your Perfect Home Office Organizer
Transform your workspace with a customizable Home Office Organizer that blends functionality with style. Follow these steps to create an efficient and aesthetically pleasing organizer tailored to your needs.
1. Design & Materials
- Choose sustainable materials like bamboo, wood, or metal with a matte finish
- Opt for a modular setup for customizable arrangements
- Select neutral tones (gray, beige, black, white) with options for personalized accents
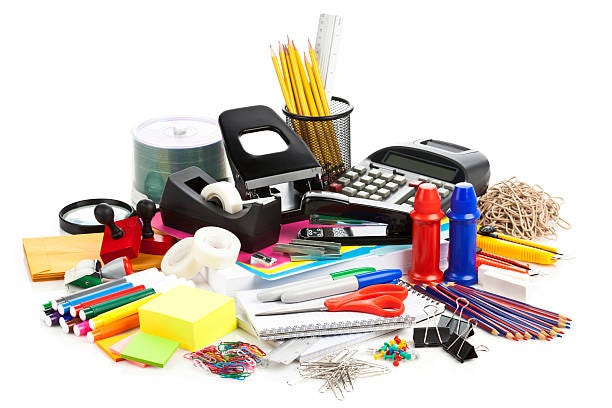
2. Essential Sections
- Document Tray: Tiered trays with adjustable heights
- Pen & Stationery Holder: Compartments for writing tools and small office supplies
- Device Dock: Slot for phones or tablets with cable management
- Notebook/Journal Slot: Vertical storage for easy access
- Drawer for Small Items: Pull-out storage for accessories
3. Cable Management

Incorporate built-in cable channels to route and hide power cables, reducing desk clutter.
4. Mounting Options

Consider adding an under-desk attachment or wall mount option to save even more desk space.
5. Personalization
Add a personal touch with laser engraving or customized name plates.
6. Sustainability
Promote eco-friendliness by using recyclable or biodegradable materials in your design.
7. Ergonomic Considerations
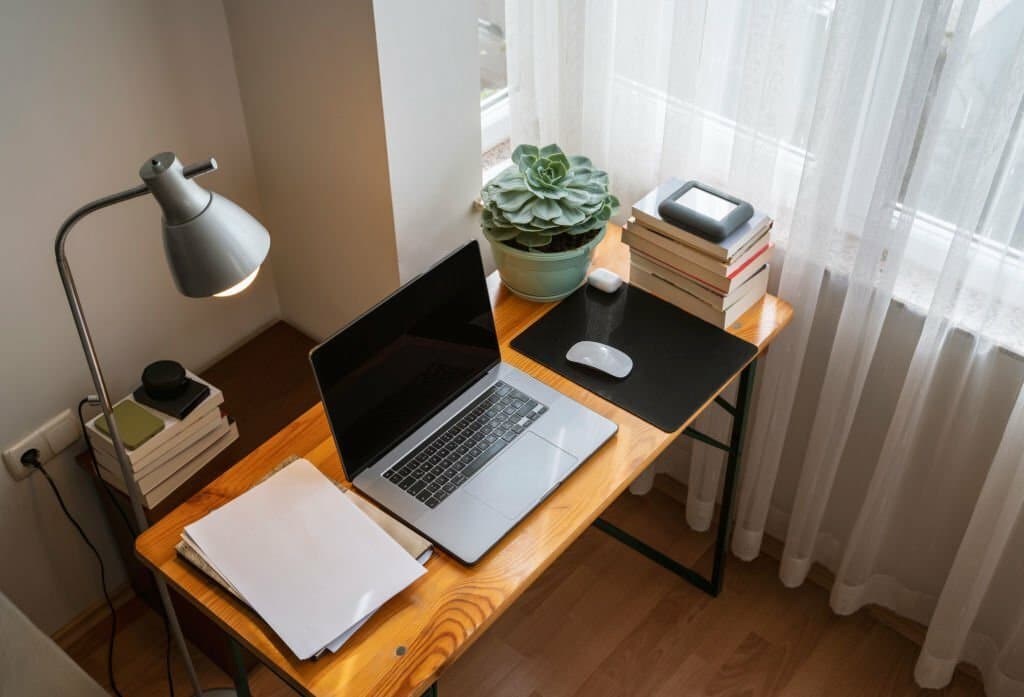
When designing your home office organizer, consider ergonomic factors to promote comfort and productivity:
- Adjustable Height: Include elements that can be adjusted to different heights, accommodating various desk setups and user preferences.
- Wrist Support: Incorporate a gentle slope or cushioned edge for comfortable typing and mouse use.
- Eye-Level Placement: Position frequently used items at eye level to reduce neck strain.
8. Smart Technology Integration

Enhance your organizer with smart features:
- Wireless Charging Pad: Built-in charging capabilities for smartphones and other devices.
- LED Lighting: Incorporate adjustable task lighting to reduce eye strain.
- Smart Hub Integration: Include a space for smart home hubs or voice assistants.
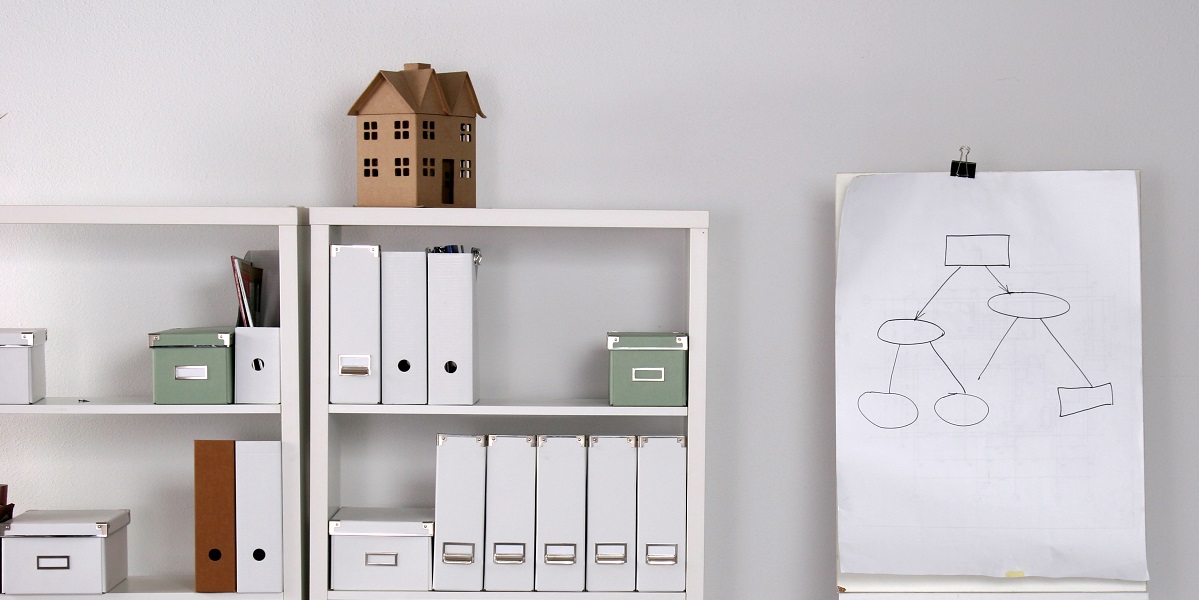
9. Expandability and Modularity
Design your organizer with future growth in mind:
- Stackable Components: Create modules that can be easily added or rearranged.
- Interchangeable Parts: Design elements that can be swapped out as needs change.
- Expansion Slots: Include areas where additional accessories can be attached later.
10. Aesthetic Customization
Make your organizer a reflection of your personal style:
- Interchangeable Faceplates: Design front panels that can be easily switched to match decor changes.
- Color Coordination: Offer a range of color options for different components.
- Texture Variety: Incorporate different materials and textures for visual interest.
11. Maintenance and Cleaning
Ensure your organizer remains functional and hygienic:
- Easy-Clean Surfaces: Use materials that are simple to wipe down and maintain.
- Removable Trays: Design compartments that can be taken out for thorough cleaning.
- Anti-Microbial Coatings: Consider applying finishes that resist bacteria growth.
12. Multi-Functional Design
Maximize utility with multi-purpose elements:
- Whiteboard Surface: Incorporate a writable surface for quick notes and brainstorming.
- Foldable Sections: Design parts that can be expanded for use and folded away when not needed.
- Built-in Timer: Include a simple timer or clock for time management.
Conclusion
This design concept will help users stay organized while maintaining an aesthetically pleasing workspace.
Frequently Asked Questions
Q: How long does it typically take to build a home office organizer?
A: The time required can vary depending on the complexity of your design and your DIY experience. A basic organizer might take a weekend, while more intricate designs could require several days to a week.
Q: What tools do I need to create a home office organizer?
A: Common tools include a saw, drill, screwdriver, measuring tape, level, and sandpaper. Depending on your design, you might also need specialized tools like a router or pocket hole jig.
Q: Can I create an office organizer if I have limited DIY experience?
A: Absolutely! Start with a simple design and gradually work your way up to more complex projects. There are many beginner-friendly plans available online that require minimal tools and experience.